
Description
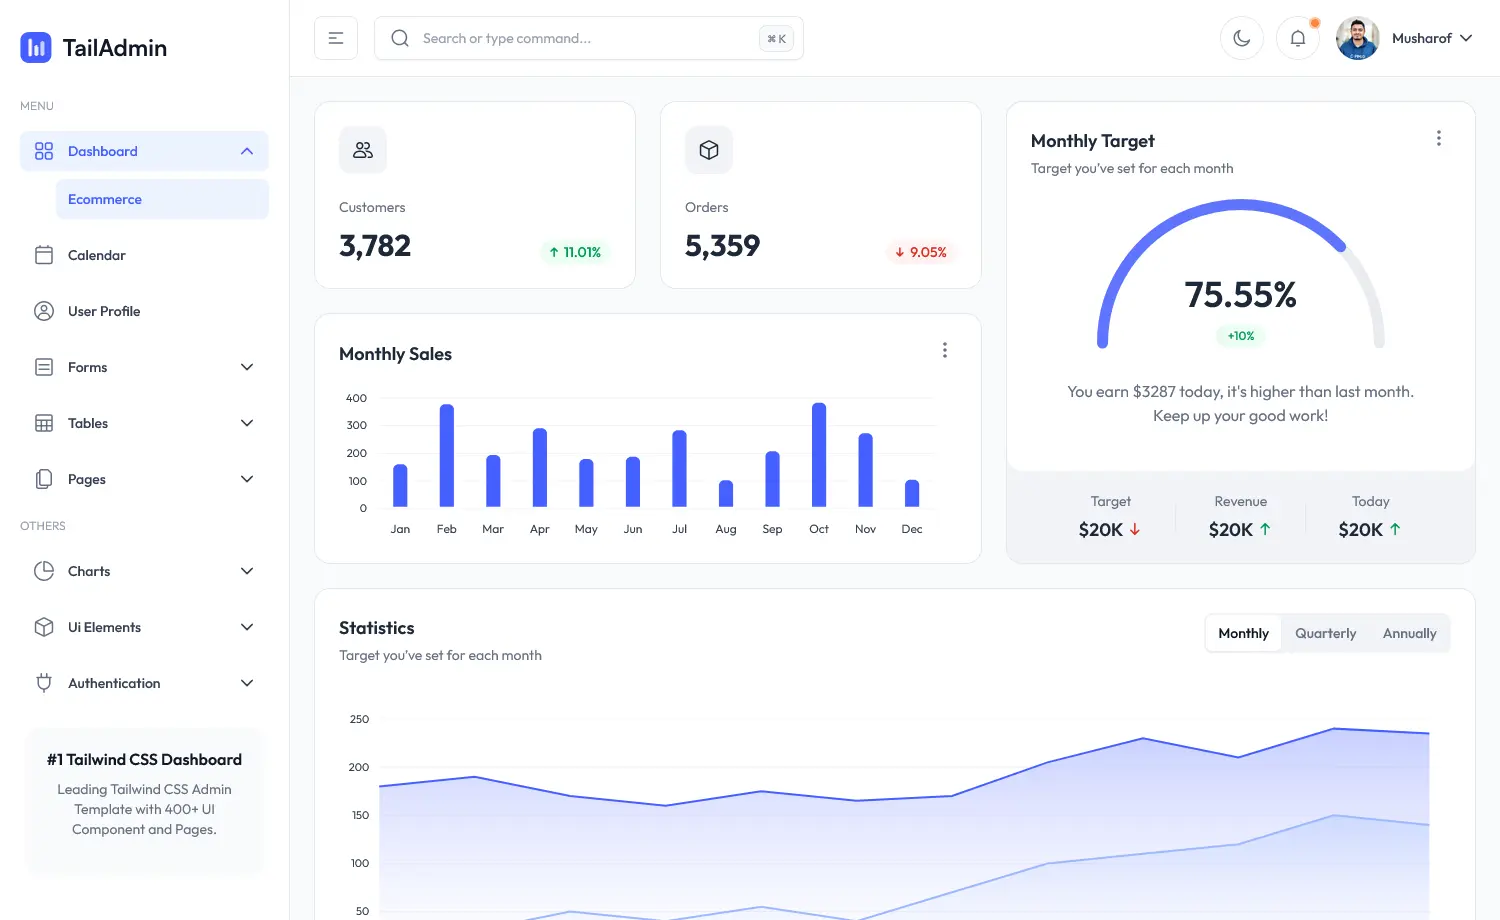
Tailadmin is a beautiful admin dashboard template with a modular design. It is meticulously designed to ensure user engagement on the site. The free template includes a minimal design that offers comprehensive data visualization. It is built using Tailwind CSS and other modern technologies. The multipage theme has a collapsible side navigation bar, a dropdown menu bar, a burger menu, a search filter, two authentication pages, charts UI, forms UI, a 404 page, and more. The user-friendly theme also incorporates light and dark modes, ensuring an enhanced user experience. Additionally, it has a mobile-first design that is completely responsive and runs smoothly across all screen sizes.
Free Tailwind CSS Next.js Dashboard Template
Moreover, TailAdmin has a multipage design with a clean codebase. So, it provides easy customization, allowing you to tweak your design goal. The developer-friendly theme is optimized for page speed, ensuring faster loading times and reduced bounce rates. It is a cross-browser-compatible theme with fewer cross-browser bugs and is accessible across all available browsers. Furthermore, it is a search engine-optimized theme and helps get a higher ranking in search results.
Key Features
- Tailwind CSS v4.0.0
- Search Filter
- Burger Menu
- Breadcrumbs
- Dropdown Menu Bar
- Charts UI
- 404 Page
- Tables
- Forms UI
- Multipage Design
- Multipurpose Theme
- Social Media Icons
- Call-to-Action Buttons
- On-Hover Effects
- 2 Authentication Pages
- Clean Codebase
- 100% Responsive
- Light & Dark Modes
- Page Speed Optimized
- Different Sign-in & Sign-up Options
- Cross-Browser-Compatible
- Search-Engine-Optimized
- Collapsible Side Navigation Bar
In The Box
- 16+ Pre-built Pages
- All Demo Images
- Library & Plugins
How to Install WordPress Themes
- Begin by downloading the theme.zip file from the source onto your local computer.
- From your WordPress Administration area, head to Appearance > Themes and click Add New
- The Add New theme screen has a new option, Upload Theme
- The theme upload form is now open, click Choose File, select the theme zip file on your computer and click Install Now.
How to install WordPress Themes using FTP
- Launch Filezilla, enter your login details and click Quickconnect.
- The following window contains Remote Site and a root directory (the root directory is your site’s name). Select /rootdirectory/web/content/wp-content/themes.
- In the Local Site window, select the folder containing your saved theme, right click for more options and hit Upload.
- You’ve now successfully uploaded your theme to WordPress. To finalize, log in to your control panel, head to Appearance > Themes and hover your mouse over the new theme. Now click Activate.
- All that’s left is to check out your new theme and see how you like your new site design.
How to install WordPress Plugin Manually
- From your WordPress dashboard, choose Plugins > Add New.
- Click Choose File, locate the plugin .zip file, then click Install Now.
- After the installation is complete, click Activate Plugin.
To add a plugin to your WordPress website via FTP
- Download the desired plugin as a .zip file from either the WordPress directory or a third-party source.
- Extract (or unzip) the plugin file. The unzipped folder will appear with the same name as the .zip file.
- Next, you’ll need to connect to your WordPress website’s server with FTP. To do this, you can use an FTP client that connects to the host server to transfer files.
- Once you open the FTP client, connect to your website with a username and password. You might need to obtain these credentials from your hosting provider.
- In your WordPress file directory, open the wp-content folder, then open the plugins folder.
- Upload the unzipped plugin folder that you downloaded to the plugins folder.
- Return to your WordPress dashboard and select Plugins > Installed Plugins. Find your new plugin and click Activate.


Reviews
There are no reviews yet.