
Description
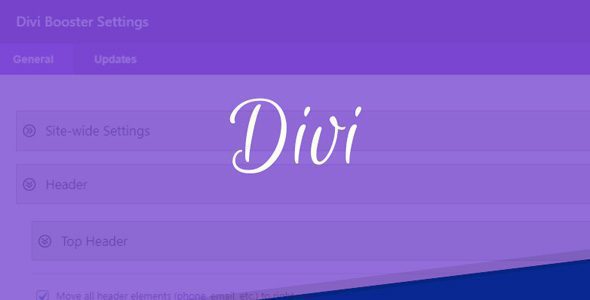
Divi Booster Plugin WordPress Features
- Improve Accessibility
Enable zooming for improved accessibility. Add “aria-label” attribute to the logo for better screen reader support. - Add More Social Media Icons
Choose from 250+ additional social media icons for you header and footer. Open the social media links in a new tab. - Upload your Own Icons
Upload your own custom icons (e.g. in png, jpg or svg format) and use them in any Divi module with icon settings. - Add an Image above the Header
Add your choice of image above the default header and optionally make it linked. - Add a Sticky Widget Area
Ideal for displaying social media follow buttons prominently on the side of the screen. - Style the Box Layout
Make main content overlap the header in box layout. Remove the box layout shadow. - Set the Mobile Content Width
Increase the content width on mobile for a more comfortable reading width. - Improve Link Handling
Fix Divi anchor link scrolling issues. Open linked images in a lightbox instead of as a plain image. - Speed up your Site
Enable compression to reduce download times. Stop map module excerpts from unnecessarily loading maps scripts. - Rearrange the Top Header Bar
Put social icons on the right or move all header elements (phone, email, etc.) to right. - Show Top Header Social Icons on Mobile
Show secondary nav bar social icons on mobile so phone users can find your social accounts too. - Add Text to the Top Header
Perfect for displaying tag lines, important information and current promotions. - Change the Menu Link Hover Color
Divi Booster lets you change the top menu link hover color to suit your branding. - Hide the Top Header on the Fixed Header
Choose to hide the top header bar when scrolling down to keep your fixed header uncluttered. - Add Widget Area below the Navigation Links
Prominently display a call-to-action button or phone number below the main menu. - Style the Main Menu Links
Vertically center the menu links. Adjust the space between them. Add separator bars between them. Set their hover color. - Style the Search Icon
Stop the magnifying glass from going onto a new line. Change the search icon hover color. - Customize the Fixed Header
Stop the header from shrinking on scroll. Delay activation of the fixed header until the user scrolls further down. - Use the Mobile Menu Button on Desktop
Keep your header as clear on desktop as it is on mobile by replacing the main menu with the hamburger mobile menu button. - Customize the Main Header
Hide the header bottom border line. Set the header minimum height. Or hide the main header completely. - Improve the Dropdown Menus
Change the submenu item background hover color. Fix sub-menu link colors on single page navigation. - Change the Logo Link URL
Set a new link URL for the logo, ideal for directing users to a parent site or an about us or landing page - Show the Site Title / Tagline in the Header
Improve site speed by replacing your logo with a text version of your site name. Or add it beside the logo to strengthen your branding.
How to Install WordPress Themes
- Begin by downloading the theme.zip file from the source onto your local computer.
- From your WordPress Administration area, head to Appearance > Themes and click Add New
- The Add New theme screen has a new option, Upload Theme
- The theme upload form is now open, click Choose File, select the theme zip file on your computer and click Install Now.
How to install WordPress Themes using FTP
- Launch Filezilla, enter your login details and click Quickconnect.
- The following window contains Remote Site and a root directory (the root directory is your site’s name). Select /rootdirectory/web/content/wp-content/themes.
- In the Local Site window, select the folder containing your saved theme, right click for more options and hit Upload.
- You’ve now successfully uploaded your theme to WordPress. To finalize, log in to your control panel, head to Appearance > Themes and hover your mouse over the new theme. Now click Activate.
- All that’s left is to check out your new theme and see how you like your new site design.
How to install WordPress Plugin Manually
- From your WordPress dashboard, choose Plugins > Add New.
- Click Choose File, locate the plugin .zip file, then click Install Now.
- After the installation is complete, click Activate Plugin.
To add a plugin to your WordPress website via FTP
- Download the desired plugin as a .zip file from either the WordPress directory or a third-party source.
- Extract (or unzip) the plugin file. The unzipped folder will appear with the same name as the .zip file.
- Next, you’ll need to connect to your WordPress website’s server with FTP. To do this, you can use an FTP client that connects to the host server to transfer files.
- Once you open the FTP client, connect to your website with a username and password. You might need to obtain these credentials from your hosting provider.
- In your WordPress file directory, open the wp-content folder, then open the plugins folder.
- Upload the unzipped plugin folder that you downloaded to the plugins folder.
- Return to your WordPress dashboard and select Plugins > Installed Plugins. Find your new plugin and click Activate.

Reviews
There are no reviews yet.